Getting the Tents Ready
Labor Day Weekend is the time. This is the time my Son and I have planned our next backpacking adventure. We are going to the mountains!
The key to a successful backpacking trip is proper planning and good equipment. Today we went through our equipment, decided what we have and what we need. Today we started our lists.
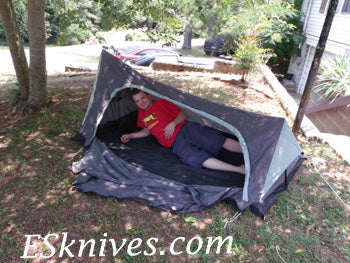
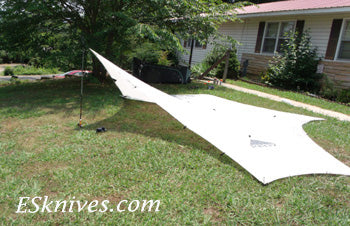
Shelter is a high priority when you are out in the wilderness. We are ultra light backpackers and we attempt to shave off ounces whenever possible. I have been able to get my winter pack, with 5 days of food, down to around 38 pounds. Light weight yet effective shelter is a must. Our goal is less than 2-1/2 pounds. My Son has a bivy tent and I take a kelty tarp. His tent is off market, but a nice tent none the less. With poles and stakes it weighs around 2-1/2lbs. My Kelty tarp is the large tarp. I like the large tarp because it can be used as a gathering place and is nice to sleep under. In a major storm I can roll up in it with my sleeping bag and stay warm and dry. My Kelty Tarp weighs in at around 2 pounds with stakes. I use my walking stick as a pole.
We have not been backpacking in a couple years so today we decided to prepare the tents for our trip. Preparing a tent for a trip means seam sealing and waterproofing.
There are many ways and many products to complete the waterproofing process. I am going to share how I waterproof a shelter.
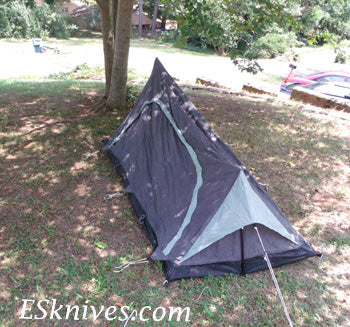
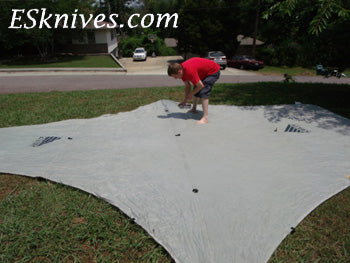
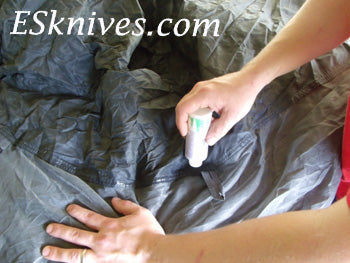
We set up our shelters to make sure that we had all the parts. Once the tent is set up it is time to silicone. Spray silicone or spray waterproofing, is inexpensive and works well. When spraying silicone on your shelter you spray it like you were spraying spray paint trying to get a good coat but not to thick. Be sure to focus on the seams. During a warm afternoon it takes around about to dry fully. Your tent is now waterproofed.
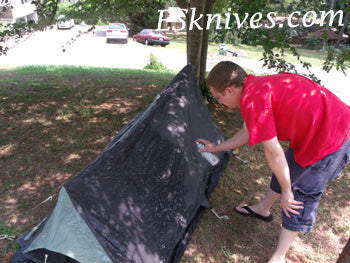
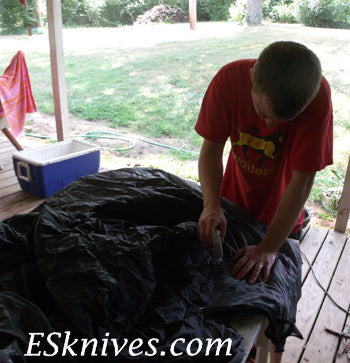
Waterproofing is not enough. If you are going to have a leak on the trail it will probably be through a seam. Seam sealing is the next step. There are lots of seam sealers out there. Some are rather pricey. I use an inexpensive sealer that can be bought in any camping section at K-Mart, Wallmart or Target. I have had good luck with the lower end seam seal.
Turn your tent inside out and apply the sealer per directions. It is not hard to do. A hard flat surface is necessary to apply the sealer to the seam. The key to seam sealing is being slow and steady. Take your time and get the sealer into all the seams. Let your tent dry over night and put in it's sack.
Your shelter is now ready to go. This process should last one or two seasons with no leak problems.
I will continue to make updates on the upcoming backpacking trip.
Related Posts
-
Weekly Knife Giveaway - Claim your Entry
We're giving away a knife every week through the end of A...
-
Survival with Bandanas
When I am out in the wild for more than a day I always th...


Scott - September 23, 2015
I would luv to know the name and/or where your son got his tent from.
I have been looking for one with this type of entry but have had no luck as of yet.
Here’s to having a great week and getting back out to the woods!!!!