Last weekend I was up in the Bowling Green, Kentucky area visiting my Son for Labor day. Sunday we decided to go to one of the local flea markets. I found myself at a Flea Market, right off Interstate 65. They had both outside and inside booths. I like to browse through flea markets every once in a while to see what the local knife dealers are offering their customers.
While walking around the outside dealers I found one knife dealer. I took a glance at his table and breezed past him. He did not seem to have much, mostly low end china knives. I did not spend anytime at his booth. I knew there were three or four larger dealers inside. I was more interested in what they had to offer.
As I was making my way to the inside market and my son came up to me and asked me if I had noticed the Microtechs and Benchmades at the knife dealers booth I had just passed. He informed me they were selling these high quality USA made knives for $8.00 and he believed they were copies.
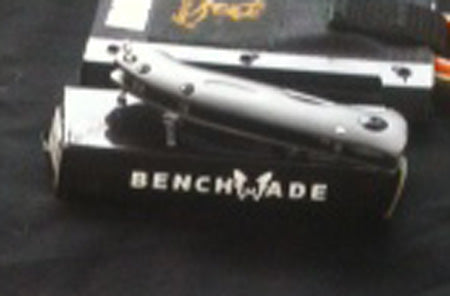
Benchmade Counterfeit
I went back to the booth to have a good look at his knives. And sure enough he had Benchmades, Microtechs, Bokers and Cold Steel knives for sale at $8.00 and $10.00. I had heard of Columbia River Counterfeit knives out of China but I have never seen one except for pictures on the internet. The counterfeit Columbia Rivers looked good and by their pictures are hard to differentiate from the originals.
Benchmade Conterfeit
I picked up a few of these so called high end knives and wondered how any one could sell them for the crazy price of $8.00. But once I got them in my hand I could tell why they were $8.00 because these knives were low end china knives and they were very easy to spot as counterfeit. The knives were very light and made of cheap materials. They had logos but they were a little off from the authentic logos. They looked like the original logos at a glance but when you looked closely at them it was easy to tell they were not original designs. The logos were crooked and were just a cheap decal. The metal was some low grade of stainless, definitely not 440 or 420 or the more expensive aus-8 that most USA knife manufactures use.
Benchmade Conterfeit
Looking at the boxes, you could see that they were close to the boxes the authentic knives came in but with a little closer examination the flaws could be seen. Very thin cardboard had the markings again, way off from the original boxes.
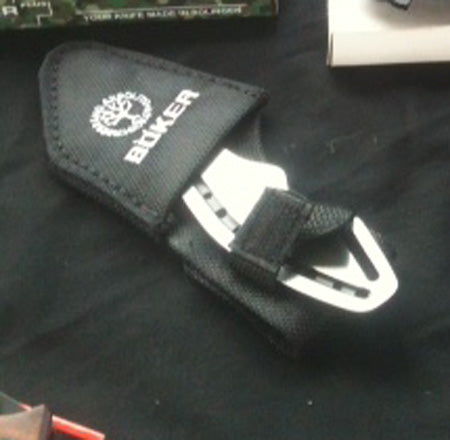
Boker Counterfeit
I did not talk with the dealer. But after looking at the counterfeits I decided to take a few pictures with my phone. I wanted my readers and my customers to get a look at what these counterfeit knives look like. The pictures are not very good but you at least get an idea of what to look for.

Coldsteel Conterfeit
At extremely sharp we do not sell counterfeits. Nor will we. We do have a few, what I call wanna be's, but they are clearly described. You know what you are buying. They resemble the knife they were designed from but have no marking of the original manufacturer. The key is that they resemble the knives they are modeled after. We do not present them as the knives. That would be dishonest. Our knives are exactly as they are described. No more and no less.
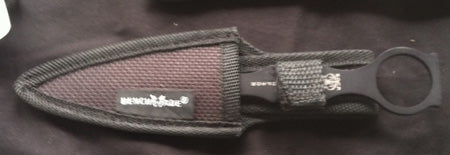
Microtech Counterfeit
A good example of this would be our K9 spring loaded knives. They resemble an older Smith & Wesson model. Smith and Wesson has not made that model for over 10 years. This is a popular style tactical knife so when I can find them I offer them to my customers. But the difference between us and the counterfeiter is that I let the buyer know what they are. They come in a unmarked box and have no Smith & Wesson markings.
Nobody wants to get ripped off. It can be prevented. There are things to look for when shopping for high end knives. Always pick up the knife and examine the knife thoroughly. Look for blemishes or any defects on the knife. Next, look at the weight of the knife and the blade action. When you are holding the knife it should feel like you are holding something. Opening the blade should be quick and smooth. There should be no drag or resistance. A little flick of the wrist and the blade should open with ease. Look at the metal and the material of the handles. They should be top quality. The knife emblems should never be crooked and never a decal. Logos are professionally etched onto blades. Do a little research and you will be able to tell the difference between an authentic emblem and a fake. When you are familiar with them they are easy to spot.

Microtech Conterfeit
When walking through the Flea Market, or shopping online, remember the buyer needs to beware. There are some good deals out there but first do your research. Know your product and don’t buy on a whim. Find legitimate dealers and legitimate deals. Ask the dealer about the knife you are interested in. See how much they know about the knife and the manufacturer of the knife.
Remember, you will Never find a $200.00 knife for $8.00. That is just not ever going to happen. You need always have to be careful when purchasing knives and if the deal seems too good to be true it probably is.
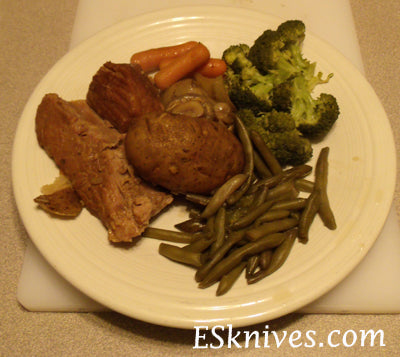
 Pot Roast-I like chuck roast
 Pot Roast-I like chuck roast


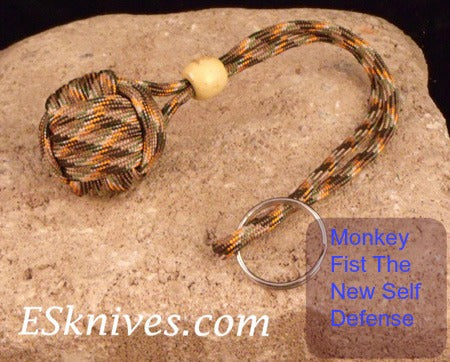
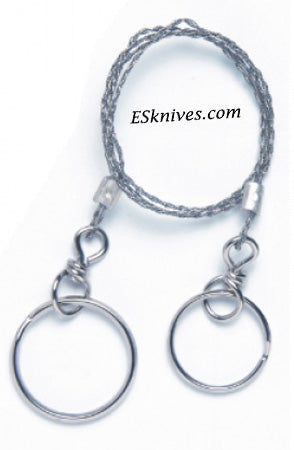
 Most monkey fists double as key chains that serve a twofold purpose. Drop your keys in a purse or backpack and leave the knot dangling over the side making easy access to your keys. Never lose your keys again. Their second purpose, and perhaps most important purpose, is for self defense. Learning to use a monkey fist for protection can be very effective.
 Large Bass, Northerns and Muskies love the Frogs. Frogs are easily found in ponds and lakes.
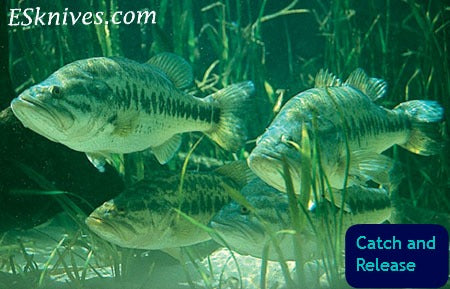
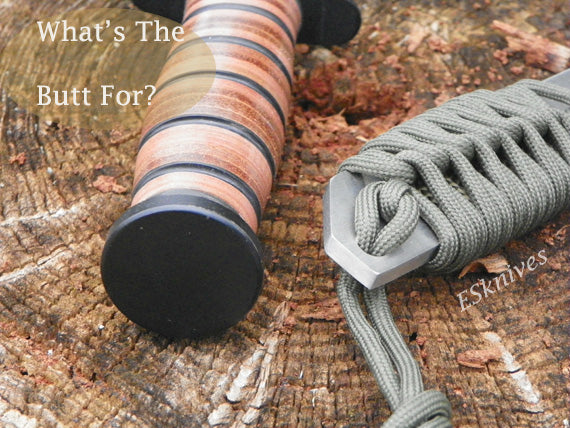
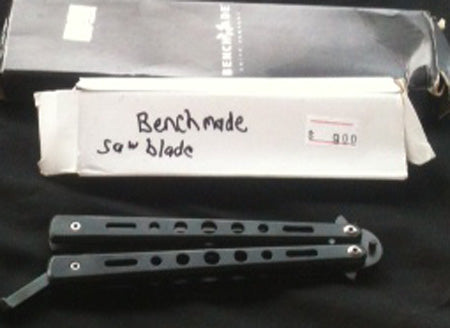
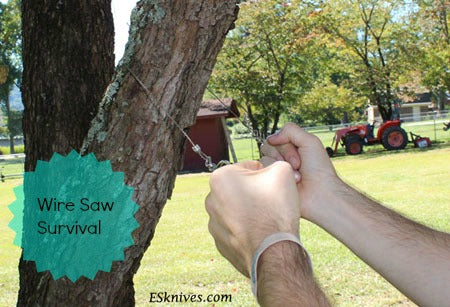 You don't want to let the saw blade get hot.
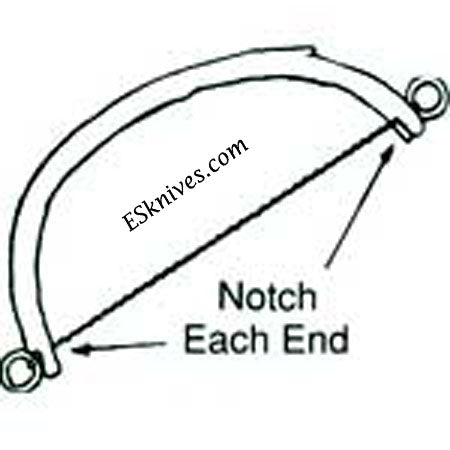
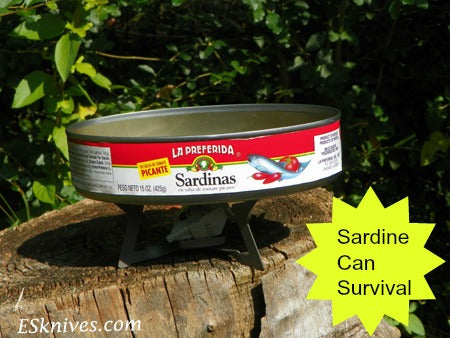
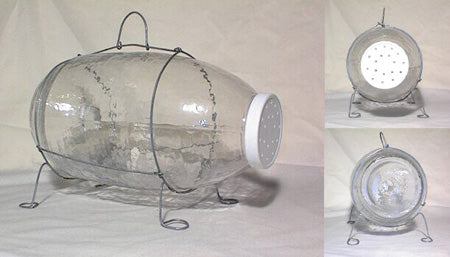
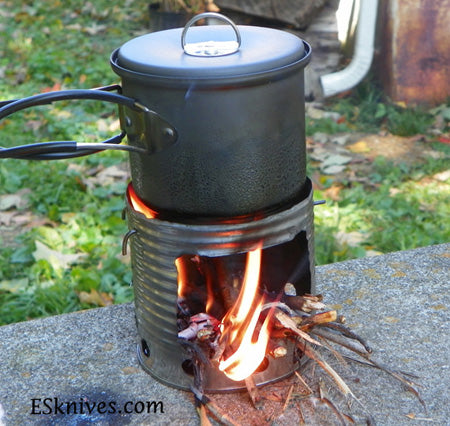 You can pack this stove and your alcohol stove. This stove makes a nice windbreak for the alcohol burner.